Sunday, September 1, 2013

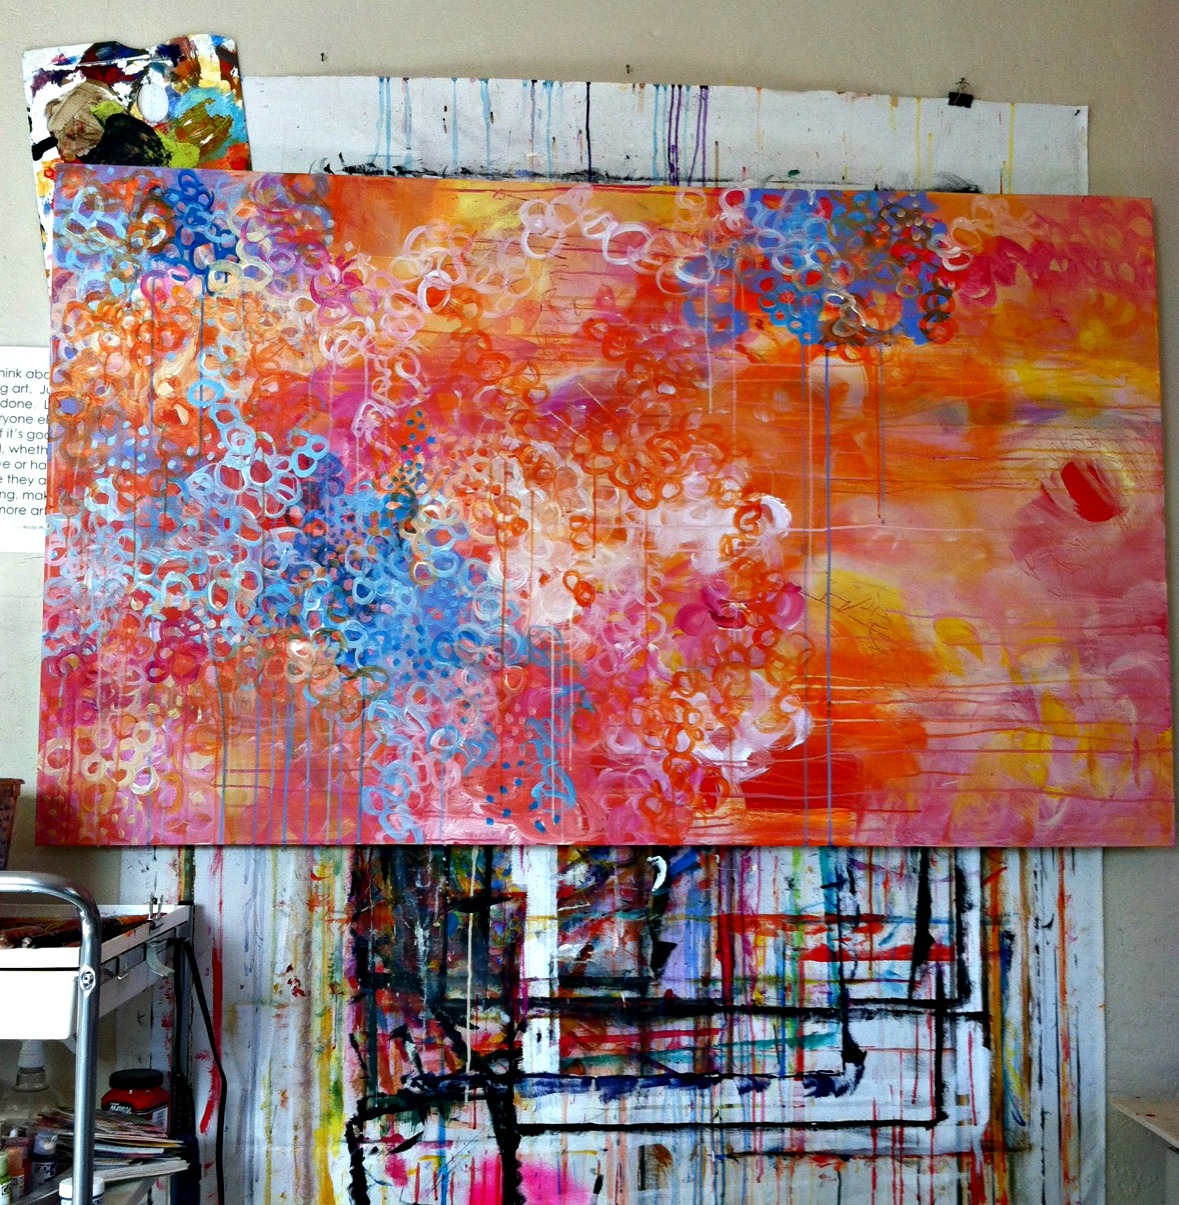
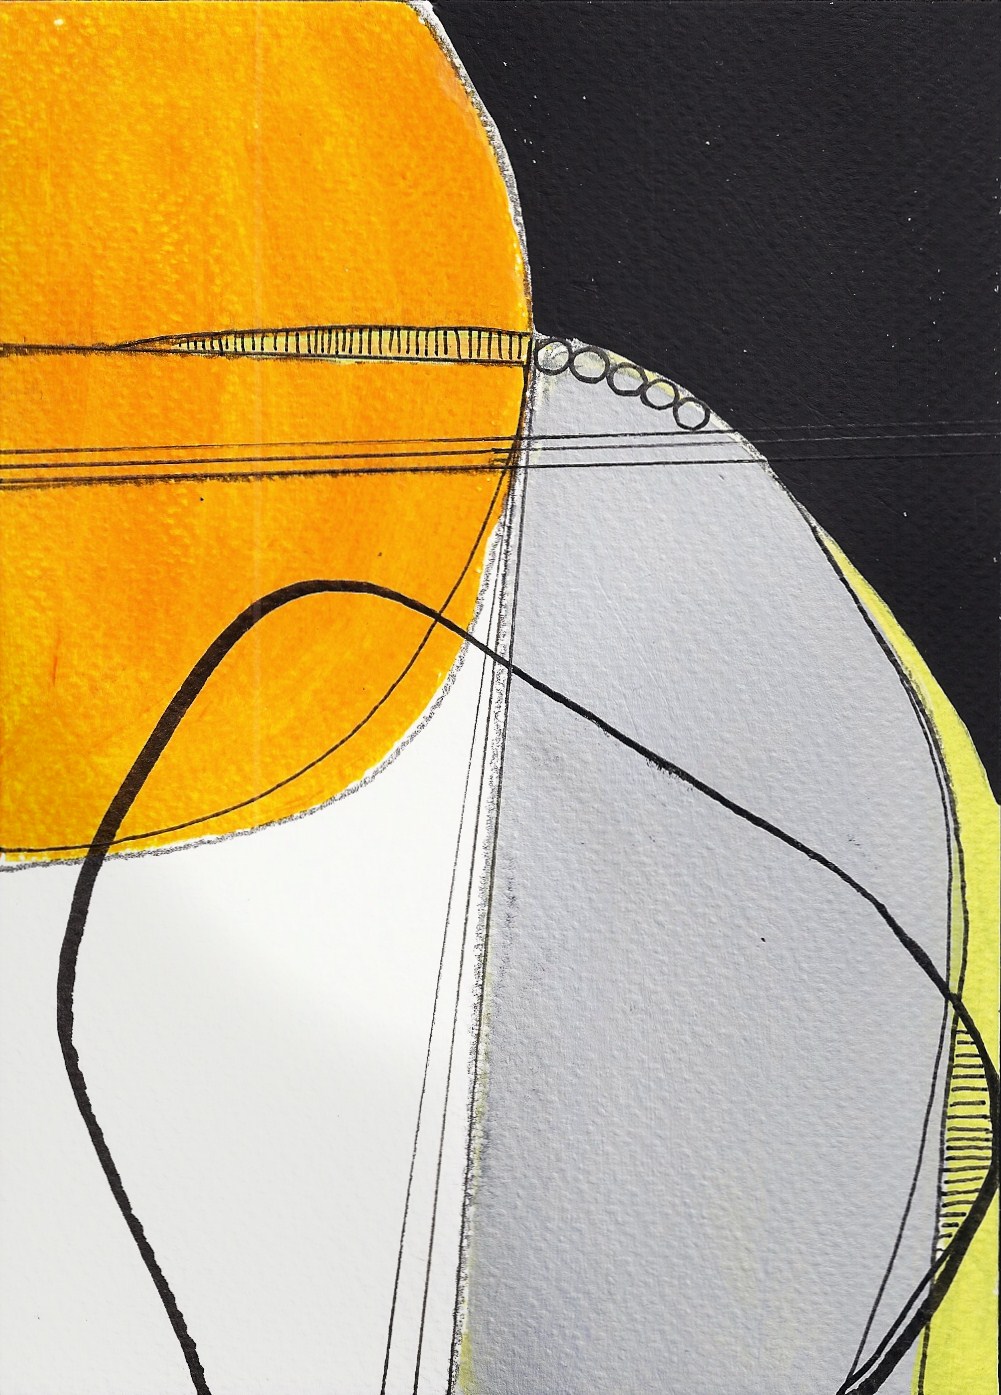
Day 1 of "30 Paintings in 30 Days"

"Dancing in a Crowd"
Mixed media painting
14" x 11" on unstretched canvas

I'm so excited to be participating again in Leslie Saeta's "30 Paintings in 30 Days" challenge!!  I surprised myself by completing the challenge in January of this year, and had so much fun that I decided to do it again.  Please follow my new work on my blog or "like" my Facebook Page if you'd like to know more. 

The Transformational Process for "Cloud Bubbles"

At last, the painting is done!!!  Introducing "Cloud Bubbles," -- the newly completed 30" x 30" acrylic on canvas painting.
Here are the various stages  of transformation my painting endured following the last post.....and to think I originally wanted to end up with a neutral work! The ocean scene happened before I left for my vacation at Stinson Beach, but I just wasn't feeling it when I returned.  I needed to paint my feelings, and swirled lots of happy paint around the canvas before ending up with the final piece. 


Thursday, August 15, 2013

Another Painting Process -- Part I


I had so much fun publicly painting the previous painting "Fiesta Magic" that I decided to pull out another canvas and begin one of my "Hidden Messages" paintings.  This is a 30" x 30" gallery-wrapped canvas.  I painted the sides and part of the front with black to add a frame to the final piece.  I'm thinking I should try to restrain myself from using so much color this time, and lean towards the neutral colors, focusing on composition instead.  We'll see how I do.....I'm in love with color and use them like my emotions on a canvas.  Guess that's why my style is "abstract expressive!"

Sunday, August 11, 2013

The Painting Process -- Part V -- "Fiesta Magic"

"Fiesta Magic" hanging in my studio gallery at ARTHOUSE in Sacramento, California.  This painting premiered at our 2nd Saturday Art Walk last night, and I loved hearing the comments.....one woman said I should win an award for having "the happiest painting" in the building!  Sharing the steps of this painting from start to finish has been a fun challenge for me -- if you want to see what's next, check out my FaceBook Fan Page -- click here to follow my latest work!
"Fiesta Magic" -- 60" x 36" acrylic painting on gallery-wrapped canvas

Sunday, August 4, 2013

The Painting Process -- Part IV

Adding even more color to the painting palette, and getting a little unnerved by the way it's not coming together.  I decide to step away from the process and head out of town for a weekend with a friend.  Apparently this was what I needed to do, because I came back with a relaxed eye and a renewed vision of how I wanted to finish the piece.

I needed to work on the ratios of the dark and light colors.  I pulled out my bottles of Golden Quinacridone Violet and Green Gold, and worked in some warm blends of these hues.  I think every artist has a "go-to" color they use when they want to add a finishing touch to a painting......Golden Green Gold is mine.  The painting is starting to pull together, and the layers are quite spectacular, if I do say so myself.

Monday, July 29, 2013

The Painting Process - Part III

I recently painted my living room walls and need to find a painting to go over my red leather sofa.  I decided to flip the orientation from vertical to horizontal, and added lots of juicy drips along with some periwinkles and light blues.  Based on the comments I received off-line and on my Facebook Fan Page, I began rethinking this strategy and decided to flip it back to a vertical orientation. 


I think going back to the vertical position was the right choice for this painting.  It's starting to get a little busy at the top, but the colors remind me of rainbow cotton candy.  Depending on the final outcome, that may just be the name of this new JJ original.

Friday, July 26, 2013

The Painting Process -- Part II

I start to lay down some color on top of the China Red gesso and let the paint drip and slide down the canvas.  I make some sgraffito marks in the wet paint which exposes the red background and throw paint around like a whirling dervish.  Basically anything goes with this first layer -- it's my "loosening up" process.

I am pulling out colors to establish my palette for the painting, and as you can see, I've chosen some pretty bright colors!!  This reminds me of rainbow sherbert right now.....I want to quit painting and get an ice cream cone, but I don't :-)  I start swirling the brush, making small circles and add some paint dots for good measure.  I like this piece as it is, but it needs more paint and layers......at least in my mind it does!


Thursday, July 25, 2013

The Painting Process......Part I - Getting Started

Starting with a large blank canvas (60" x 36" x 1.5"), I covered the surface with China Red Background Gesso from Matisse Paints.  I love prepping a canvas with colored gesso -- especially a bright red.  It really helps the next few layers "pop"!
The next step involves using a charcoal pencil and twig charcoal, and making random marks and lines on the prepared canvas.  I do this with my left hand (I'm right-handed) and lay down a suggested composition.  Sometimes I follow the lines; often I don't.  It just depends where my artistic muse takes me in the next process!!

If you want to follow me "live" - like my Face Book Fan Page and see what this canvas looks like today!  No worries if you don't do FB, though -- I'll post more updates tomorrow.

Friday, July 19, 2013

Heatwaves, Cloudbursts and Summer Breezes

"Cloudburst"
36" x 24" acrylic on canvas
$475

It's summertime in my hometown of Sacramento, California and we're headed for another heatwave this weekend.  The past few years have been relatively mild for our Capital city, with temperatures occasionally rising over the 100 degree mark, but they're usually tolerable given our Delta breezes that occur after sundown.  

On the 4th of July, Sacramento hit 112 degrees around 6:00 p.m. and I can assure you it was NOT pretty!  I was heading to a friend's house for a pool party, and took this photo of my car thermometer with my iphone on the way. 


I'll be the first to admit I'm a bit of a weenie when it comes to hot weather.  It's easy to bundle up and get warm when the temperatures hit the freezing level; but when the heat comes with a dose of humidity, then I am the first in line to get out of the area and avoid the fire.  However, because of previous commitments I wasn't able to escape and decided to paint instead.  Here's what I produced that horrible, hot and humid day:

 
"Summer Breeze"
48" x 24" acrylic on canvas
$675

The colors made me happy and reminded me of the flowers in my Mom's garden when I was growing up.  The summers were hot indeed back then (I grew up in Sacramento and we didn't have central heat & air until I was in my teens!) but somehow I don't recall them ever being intolerable.  Being outside with the fruit trees (cherries, nectarines, apricots and plums) and enjoying the flowers in the garden while swimming in an above-ground swimming pool, I actually looked forward to the heat.

I no longer have a pool or any fruit trees, but I do have my paint and plenty of canvases, so I'm enjoying the process of making lots of swirls out of color and blending everything in a memory of what I grew up with. 

I hope you are all enjoying your summer -- I know a lot of my Mid-West and Eastern friends have been experiencing crazy rains for days on end.  It's weird, isn't it?  Not at all what we're "used to" but I have to admit, I'm liking the change :-)

Monday, June 17, 2013

Word Stones with my new Gelli Plate


A couple of weeks ago I ordered a new "Gelli Plate" and I'm having a ball playing with it!!  I recently learned how to make monotypes and like the way the ghost images can be used for added texture and shapes for my paintings, but wasn't completely sold on making a lot of them.  That is, until I learned about the Gelli Plate.  Basically the plate reminds me of the stuff we used to use in biology in the Petri dishes.....it's clear and firm and you add paint with a brayer to the surface to make cool designs that are transferred onto Rives BFK paper or tissue paper.  Below are some "word stones" I'm making, using the designs collaged onto 140-lb. watercolor paper.

"Secret Garden" - 6" x 6" mixed media on paper
Here's "Secret Garden" - made with acrylic paints transferred onto thin tissue paper.  I use matte medium to glue the shapes onto the watercolor paper, then add words.

I like the lines and wrinkles in the paper stones -- they add depth and texture to the piece.

It's really difficult for me to stop and these new studies are helping me with my minimalist compositions that I so admire in other artist's work.

Learning how to say "STOP" creatively has evaded me for years and I figured it was time to get serious.

Here's hoping I can find that comfort zone so I can carry this exercise further onto my larger paintings.  It may look easy to some to simply make a few lines on a page and walk away, saying "it's done" - but for me (and a lot of other artists I know!) it really is not that simple.  There's always the desire to keep adding just one more thing, and the next thing I know, the piece is a mess and I pull out the gesso and start over again.  Sometimes I do this a number of times (my secret for added texture) - but after nearly 3 decades of painting, it's time to simplify. 

I'm not ready to give up the bold, vivacious colors quite yet - but I am finding that less is more, and not the other way around.  So it might take awhile to get comfortable with that feeling of angst as I put down the brush and walk away, but I'm hoping the results will be worth it. 


"Pure Harmony" - 6" x 6" mixed media on paper


Sunday, June 9, 2013

Skull Rocks


Art days with my friends Cheryl, Lynn and Di are some of my favorite days on earth.  This time we made painted rock skulls out of stones gathered from The American River in Sacramento.  We started with clean rocks; added a coat of gesso to make sure the acrylic paints would adhere properly; then added our colors and designs.  I think I'm going to finish mine off with a coat or two of UV protective matte varnish before putting them outside in the hot California sun. 

Before I add the final coats though, I want to finish mine off with some more dots and designs (I was on a roll and made 5 rocks - the colorful family at the upper left corner).  When I'm done, they're going to go in my garden in an area I'm creating for a "Day of the Dead" section.  The new area is next to my studio and will add color where my plants seem to refuse to grow.  I can't wait to get started and will look for an "altar" to add next.  I've got a small wood pallet that is calling my name......

Wednesday, May 15, 2013

ETSY - and Selling Art

At the end of March, I opened a new ETSY Store called JJJacobsArt, and this morning I made my very first sale in the new store!!  My painting "Roller Coaster" is now making its way to Australia where it will land in a new art collector's home.  I couldn't be happier.

"Roller Coaster" - SOLD  

Over the past few years I have had several ETSY stores (selling fused glass, mixed media items, vintage, etc.) and decided to close them all to concentrate on a new store which specializes in selling my smaller paintings, works on papers, studies and maybe one day some prints of my larger works.   I really truly hope this turns out to be a viable outlet to sell my small originals, but time will tell. 

What I am absolutely amazed at is the number of fine artists and illustrators who are doing very, very well on ETSY.  Granted many of them started 5+ years ago when ETSY was a newbie site for the arts, but I'm hopeful it will work for me.

A long time ago one of my mentors told me in order to be a really great artist, one needed to paint 100 paintings.  Recently I heard a great artist needs to paint at least 1000 paintings before they are "seasoned" and collectible. 


What's the magic number?  How many paintings do I need to create before I'm considered "collectible?"  How long do I need to be painting/marketing before I'm known as an artist who is going to be around for awhile?  Let's face it -- I've been painting since I was a kid, and I don't think there are any hopes or plans that I'm going to stop soon......I know I've easily painted 750+ paintings and probably double that.   The reality is I CAN'T STOP.  Whether it's painting on canvas, cardboard, wood or paper, I need to spread paint around like it's butter on toast.  It's who I am and it's how I roll.

My biggest problem is I'm surrounded by my work, and I need to get it out of here so I have room to make more art (my house is only 842 s.f.).   While I'm happy to say my work is in hundreds of collector's homes and offices,  I'm always looking for more homes for my babies!

I've learned to let go of the emotions attached to my art.  I'd say 95% to 98% of my work is available for sale once I declare it's done.  And if someone falls in love with one of my pieces - I will find a way for that person to get that piece, as I truly believe my art belongs with a person who has that gut connection.  Sometimes it's the design; other times it's the title or the colors that makes someone tell me "I just have to have it!"  I will make it happen one way or another, and I am content knowing my art has found a loving home.


I'm glad I opened my ETSY store, and I look forward to selling more works to collectors from all over the world.  I wish there were a button to push that would publish the work for sale after I've finished painting it, but that hasn't been invented quite yet.  

Hmm.....I can easily see me becoming an inventor in my next life.......


Saturday, May 4, 2013

Paintings on Recycled Cereal Box Cardboard

"Wind Drift"

"Spirit Matters"
My dear artist friend Joanie Springer loves to paint on recycled materials and has inspired me to try painting on cardboard.  Never mind the fact that I am a certified art supply and canvas hoarder.....I just had to give it a try.  So after finishing a box of Kashi cereal, I decided to cut it up and play.  Here are the results!!  Both of these paintings were done upcycled cardboard with acrylics, graphite and charcoal and measure roughly 10.25" x 6.25"